English
 Arabic
 French
 Spanish
 Portuguese
 Deutsch
 Turkish
 Dutch
Dutch
 Italiano
 Russian
 Romaian
 Portuguese (Brazil)
 Greek
Greek
Moving Cargo: How Highly Hazardous Chemical Tanker Market Transport Solutions Enable Global Chemical Trade
Other |
2026-09-19 11:23:50
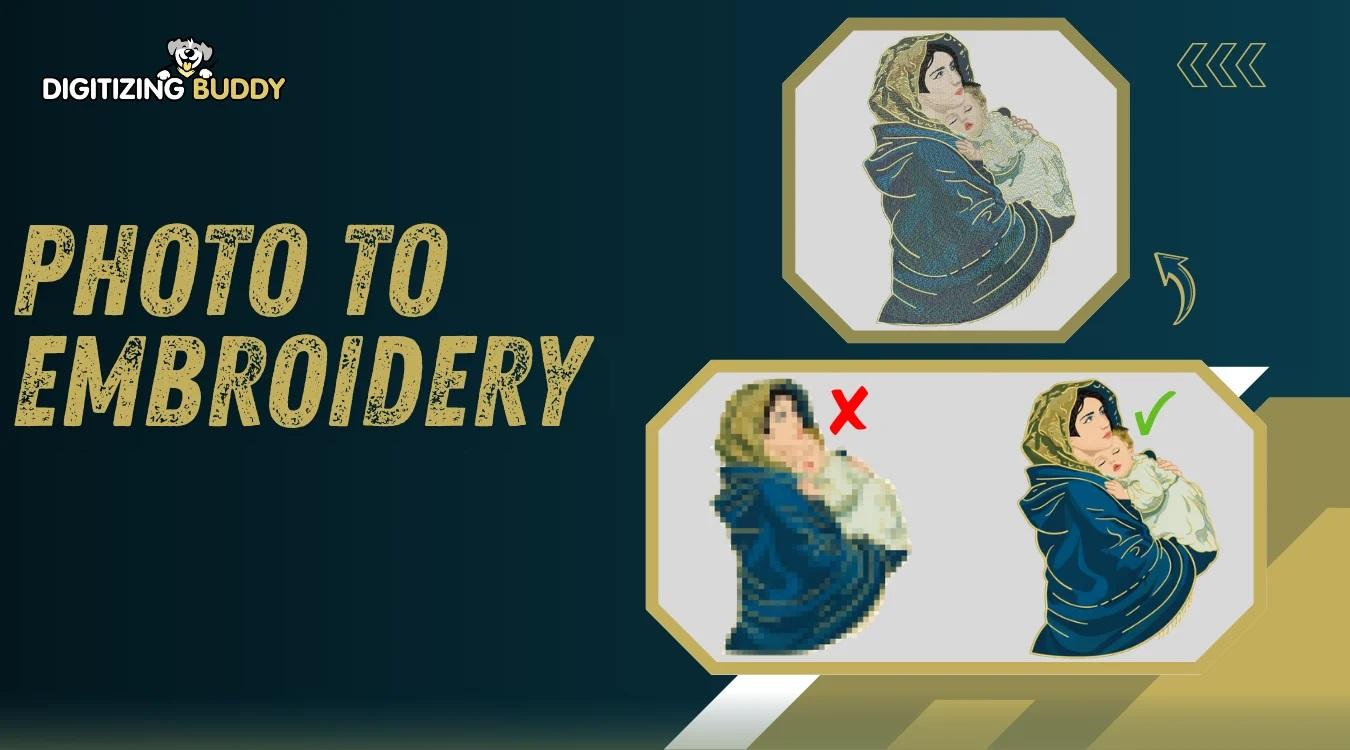
Turning a favorite photo into embroidery sounds simple—until the final stitches look nothing like the original image. A beautiful picture can become blurry, crowded, or difficult to stitch if it is not suitable for embroidery.
That is why choosing the right photo for embroidery is one of the most important steps before digitizing. The quality, lighting, background, contrast, and level of detail in your photo can all affect the finished design.
Whether you want to embroider a pet, person, logo, product, or special memory, starting with the right image makes the entire process easier.
Embroidery is different from printing. A printer can reproduce tiny details, soft shadows, and smooth color changes. An embroidery machine works with thread and stitches.
This means some details need to be simplified before they can be stitched successfully.
A good photo gives the digitizer enough visual information to create:
A poor-quality image may leave important areas unclear, making the digitizing process more difficult.
When choosing the right photo for embroidery, look for an image that is clear, sharp, and easy to understand.
Start with the highest-quality image you have. A sharp original photo gives the digitizer more information about edges, shapes, and small features.
Avoid screenshots, heavily compressed images, or photos that become blurry when enlarged.
A high-resolution photo is especially helpful when the design includes a face, animal, logo, or detailed object.
Lighting can make a huge difference.
A photo with even lighting makes it easier to identify important shapes and colors. Harsh shadows can hide details, while very bright areas may remove important visual information.
Natural lighting often works well because it helps maintain realistic details without creating extreme highlights or shadows.
Your main subject should be easy to identify.
For example, if you want to embroider a dog, choose a photo where the dog's face and body are clearly visible instead of a distant image taken from across a park.
The clearer the subject, the easier it is to create an embroidery design that captures its main features.
A complicated background can make embroidery unnecessarily difficult.
Imagine a portrait with trees, buildings, furniture, people, and other objects behind the subject. Trying to reproduce every element could make the final design crowded.
A simple background is usually easier to work with.
If the background is not important, it can often be removed or simplified during the digitizing process.
Different subjects require different types of images. Here are some common examples.
For people, choose a close-up or medium-distance photo with a clearly visible face.
Good portrait photos usually have:
Avoid photos where the person's face is partially hidden or extremely small.
Pet embroidery can look amazing when the animal's face and defining features are easy to see.
Choose photos that clearly show the eyes, ears, nose, and fur pattern. A front-facing or slightly angled portrait often provides useful details.
If you are converting a logo into an embroidery design, use the cleanest version available.
A digital logo, vector artwork, or high-resolution image is generally easier to work with than a blurry photograph of a logo printed on fabric.
For products, select an image with a clear outline and good contrast against the background.
Simple product photos are especially useful when the final embroidery needs to remain recognizable at a smaller size.
Color is another important factor when choosing the right photo for embroidery.
A photograph may contain hundreds of subtle color variations. Embroidery, however, uses a limited number of thread colors.
The digitizer may need to combine similar shades or simplify gradients.
Good contrast helps separate one area from another.
For example, a dark subject against a lighter background is usually easier to interpret than a dark subject against another dark surface.
Strong contrast can help preserve important outlines and details in the final stitch design.
If two parts of a photo have nearly identical colors, they may blend together when converted into stitches.
Distinct colors can make important shapes easier to preserve.
Not every beautiful photograph makes a good embroidery source.
Some images create extra challenges because they contain too much information or lack clear shapes.
Try to avoid:
This does not mean these images can never be embroidered. They may simply require more preparation and creative digitizing.
One of the biggest mistakes people make is choosing a photo without considering the finished design size.
A detailed portrait may look excellent when embroidered at 10 inches wide. The same design may lose important details at 2 inches.
Before digitizing, ask:
How large will the embroidery actually be?
For small embroidery designs, focus on the most recognizable features rather than trying to preserve every tiny detail.
For larger designs, there is more room for additional details and stitch variation.
Once you have selected an image, a little preparation can improve the result.
Remove unnecessary areas around the main subject.
A tighter crop helps the digitizer focus on the features that matter most.
If the photo is too dark or flat, basic image adjustments may make important details easier to see.
Do not over-edit the image, though. The goal is to clarify the subject, not completely change its appearance.
If the background is distracting, consider removing it or replacing it with a simple background.
This can make the final embroidery cleaner.
Zoom into the image and check the features you want to preserve.
For a person, these might include the eyes, hair, and facial outline.
For an animal, you may want to preserve the eyes, ears, nose, and distinctive markings.
The best image can depend on the type of embroidery you want.
Realistic embroidery uses detailed stitch work to capture the appearance of a photograph.
Choose an image with:
If you want a bold, clean design, a photo with strong shapes and contrast may work better.
The image can be simplified into important outlines and color areas.
For hats, pockets, sleeves, and other small areas, simplicity is especially important.
Choose a photo where the main subject remains recognizable without relying on tiny details.
Choosing the right photo for embroidery becomes much easier when you know what mistakes to avoid.
If the original photo is blurry, important edges may be difficult to identify.
A tiny subject leaves little information for creating a detailed embroidery design.
A busy background can compete with the main subject and make the design unnecessarily complicated.
Always consider where the embroidery will be placed and how much space is available.
A photo that works well for a large jacket-back design may not work well on a small cap.
Embroidery is an interpretation of an image, not a printed photograph.
The goal is to use stitches, thread colors, and textures to recreate the important visual characteristics of the original subject.
If you are unsure whether your photo is suitable, a professional digitizer can review it before creating the final embroidery file.
At Digitizing Buddy, the image can be evaluated based on factors such as detail, size, contrast, and intended fabric or placement.
Professional digitizing is particularly useful for complicated portraits, pet designs, logos, and images that need to work at a specific size.
A skilled digitizer can also simplify unnecessary details while keeping the main subject recognizable.
Before submitting your image for embroidery, ask yourself:
If you can answer yes to most of these questions, you have a much stronger starting point.
Choosing the right photo for embroidery can make a major difference in the final result. A clear subject, good lighting, strong contrast, and suitable image size give the digitizer a better foundation for creating clean and recognizable stitches.
Remember that embroidery has different limitations than digital images. You do not always need the most complicated photograph. Often, a simple and well-lit photo produces a better embroidery design than a detailed but cluttered image.
Take a few minutes to select and prepare your photo before digitizing. That small step can help you get a cleaner, more attractive, and more usable embroidered result.
The best photo is usually sharp, well-lit, high-resolution, and focused clearly on the main subject. Simple backgrounds and good contrast can also improve the result.
Many photos can be converted into embroidery, but some require more editing and simplification than others. Very blurry or complicated images may be challenging.
Use the highest-resolution original available. A larger, sharper image gives the digitizer more visual information to work with.
Often, yes. Simple images with clear shapes and strong contrast can be easier to translate into stitches, especially for small embroidery designs.
A professional digitizer can often improve or simplify an image, but there are limits. Starting with a clear original photo usually produces better results than trying to recover missing details.